Whether you're installing hardwood for the first time or refinishing floors that have seen decades of life, the process can feel overwhelming. This guide covers every major stage so you know exactly what to expect.
Stage 1: Choosing Your Material
The first decision is species. Your main considerations are hardness (measured by the Janka rating), color, grain character, and how the species responds to stain. Popular choices for Colorado homes:
- White Oak — Durable, stable, takes stain beautifully, currently the dominant choice in design-forward interiors.
- Red Oak — The classic American hardwood, slightly more grain variation and a warm pink undertone, excellent value.
- Maple — Very hard, tight grain, takes light stains and natural finishes especially well.
- Hickory — Extremely hard, dramatic grain variation, excellent for rustic and high-traffic applications.
- Walnut — Rich, dark, softer than oak but deeply beautiful; best in lower-traffic areas or as an accent.
Stage 2: Selecting Width and Cut
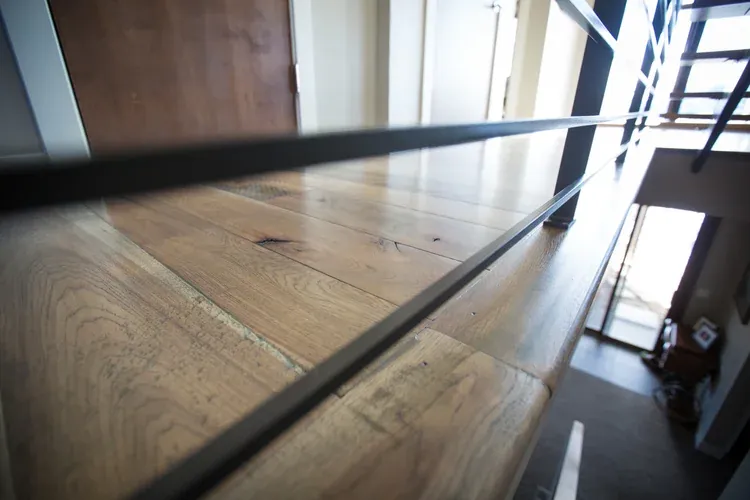
Wider planks (5" and up) are the current design trend and show more of the wood's natural character. Narrower planks (2¼"–3¼") are more traditional and move less seasonally. Plank cut matters too: flat-sawn wood shows more figuring and is more affordable; quarter-sawn and rift-sawn wood is more dimensionally stable and moves less with humidity changes.
Stage 3: The Installation Process
Installation begins with subfloor preparation — the most important and often most overlooked step. The subfloor must be flat (within 3/16" over 10 feet), dry (below 12% moisture content), and structurally sound. Once the subfloor is ready, the wood is acclimated in the space for several days to reach equilibrium with the home's humidity level. Installation follows, with each board hand-nailed or glued depending on the subfloor type and product specification.
Stage 4: Sanding
If you're installing unfinished hardwood (the most customizable option), sanding happens after installation. We work through a sequence of grits from coarse to fine — typically 36, 60, 80, and 100 — progressively refining the surface. Our dustless sanding equipment keeps the job site clean and produces a smoother surface for finishing.
Stage 5: Stain Selection
For many clients, this is the most exciting and anxiety-inducing stage. We apply sample stains directly on your floor, in your home's light conditions, before you commit to anything. We recommend evaluating samples at different times of day — morning light and evening lamp light can look dramatically different. Once you've selected your color, we apply it consistently across the entire floor.
Stage 6: Finishing
The finish is what protects your investment. We apply a sealer coat followed by two to three coats of water-based or oil-modified polyurethane, screening lightly between coats for proper adhesion. Sheen options range from matte (very low reflectivity, hides dust and scratches) to satin (the most popular balance) to semi-gloss (more reflective, shows more wear). Full cure time is 7–14 days; you can walk on the floor in 24 hours but should avoid furniture and rugs for the first week.
Stage 7: Long-Term Care
Once installed, hardwood is low-maintenance but not no-maintenance. Daily sweeping or vacuuming (with a bare-floor setting) removes grit before it can scratch the finish. Damp-mop monthly with a hardwood-safe cleaner. Maintain indoor humidity between 35–55%. Place felt pads under all furniture. With this simple routine, your floor will remain beautiful for generations — and when it eventually shows its age, refinishing will return it to like-new condition.
Ready to Start?
We'd love to walk you through the process in person. Request a free estimate and we'll schedule a visit to your home, take measurements, and discuss your options — no pressure, no rush.